5 Easy Steps to Get Started with Grazitti’s Alteryx Connectors
by Khushboo Sharma - 7 years ago in Connectors
“You can have data without information, but you cannot have information without data.” – Daniel Keys Moran
34 billion terabytes of data is generated worldwide EVERY second. However, researchers estimate that less than 0.5% data is ever analyzed and used.
That’s right. Data is growing faster than ever. While insights from data are extremely powerful, we are still quite far from fully leveraging the tremendous amounts of data being collected.
Many companies lack the manpower and the infrastructure required to go through these datasets efficiently, thus limiting their ability to extract insights from their company’s data.
What’s more, analysts are faced with more disparate data sources than ever. Being able to access this data and incorporate it into their analysis is critical to improve the accuracy of their results.

Alteryx, the leader in self-service data analytics, has been changing this for a while now. It provides extensive out-of-the-box connectors that are used to retrieve or push data to the cloud.
While it has exceptional connectors such as Adobe Analytics, Alteryx Web Data Connector for Tableau and Amazon S3 Download Tool, it doesn’t cover all the platforms.
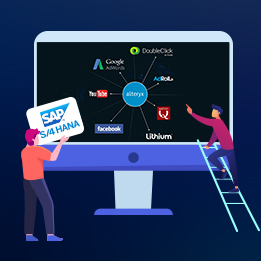
Understanding the need for fetching data from more platforms, the analysts at Grazitti have engineered 40+ custom connectors for Alteryx. These connectors empower you to perform better analysis with Alteryx by allowing you to fetch data from a variety of platforms ranging from databases to social media to online advertising channels and more.
What’s more, our connectors are so easy to install that you can get them up and running in 5 simple steps. Here is how:
Step 1 – Download the connector
To install the connector of your choice, log on to alteryxconnectors.grazitti.com, click on “Free Trial”, and choose a connector of your choice from the drop-down list. Fill in your details and we’ll send you the download link and license key of the connector via email.
Step 2 – Installation process
Click on installer file to start the installation process. After installing the connector, launch Alteryx as an Administrator and find the connector under the connectors tab.
Step 3 – Drag and drop the connector to Alteryx designer
Then drag and drop the connector on the canvas. Copy the 16-character alphanumeric license key received in the email, and paste it in the window.
Step 4 – Start fetching data
Grazitti’s Alteryx connectors provide end-to-end automated data integration and data ingestion for unstructured data sources to Alteryx and thus allowing users to cleanse, blend, verify, and transform their data in Alteryx.
Step 5 – Extract reports automatically
After integrating data from multiple platforms, Grazitti’s analytical/professional services help in performing predictive analytics and generating automated reports.
With that, you’re done with configuring your Alteryx Connector by Grazitti!
Subscribe
Did you like our blog? Subscribe to receive more awesome posts right into your inbox.
Recent Posts
Alteryx’s Generative AI: Your Pathway to Smarter Data Analytics Workflows & Insights
Integrate Your SAP S/4 HANA Database With Grazitti’s Custom Alteryx Connectors
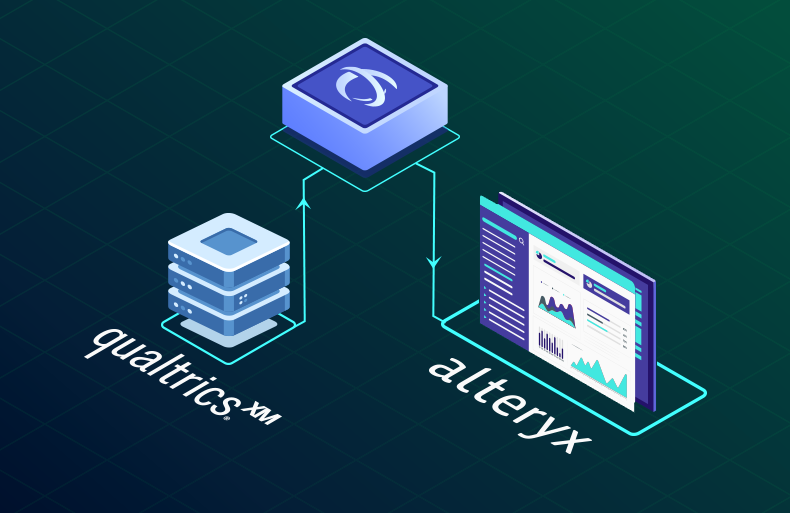
Integrate Qualtrics & Alteryx with Grazitti’s Custom Connectors
Integrate Multiple Data Points in Alteryx With Grazitti’s Custom Connectors
Alteryx Introduces Analytic Process Automation (APA) Platform